WordPress login security is the single biggest thing standing between your business site and a hijacked admin account. If your WordPress dashboard keeps sending “failed login attempt” alerts, you are not being targeted personally — automated bots scan the entire internet for WordPress login pages, and yours is on the list.
Hardening the login page is not about a single plugin. It is about stacking a few simple defenses in the right order — and you can finish the most important ones in about 30 minutes.
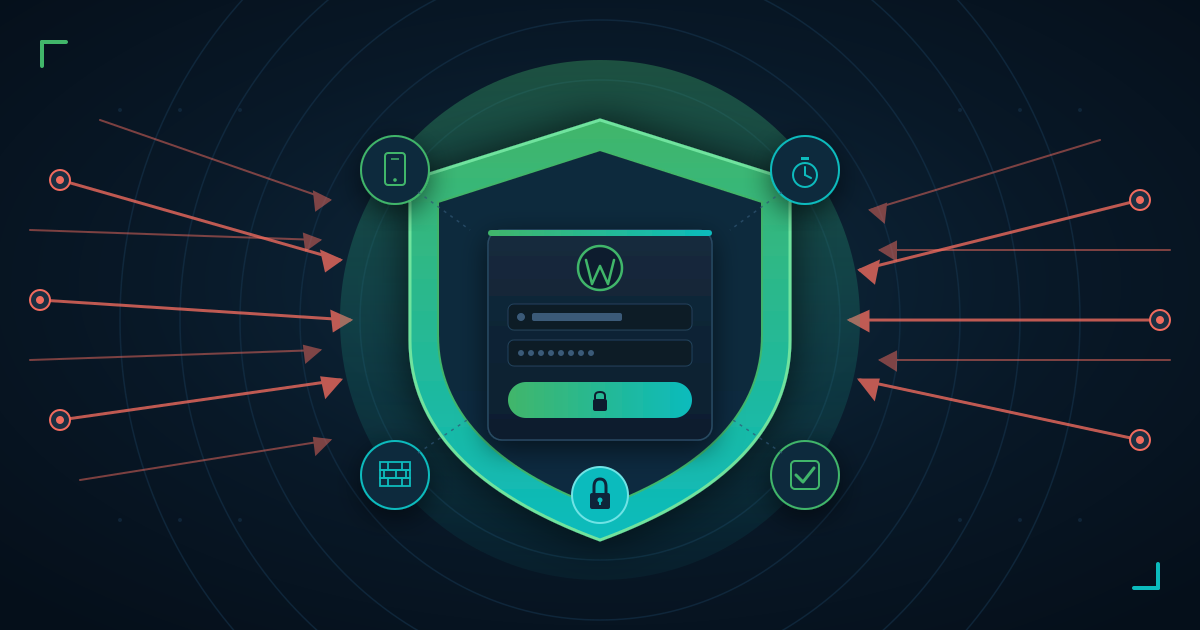
The Short Answer: What Should You Do Right Now?
Turn on two-factor authentication (2FA), limit login attempts, remove the default admin username, and either protect or disable XML-RPC. Those four steps stop the overwhelming majority of brute force attacks against a WordPress site.
Everything else in this guide — custom login URLs, CAPTCHAs, hosting-level firewalls — makes a hardened login even harder to reach. Start with the basics, then layer the rest.
This post is a spoke of our full WordPress security checklist, so once you lock down the login page, work through the pillar guide for the rest of your site.
How Brute Force Attacks Actually Work
A brute force attack is, in the words of the official WordPress.org handbook, “the simplest way to break in: an attacker repeatedly tries username/password combinations until one works.” Bots automate this across millions of sites at once.
There are three common flavors.
Dictionary Attacks
The bot tries common passwords from a list — password123, admin2024, your business name plus a year. Dictionary attacks are why reusing a weak password is so dangerous.
Credential Stuffing
The bot uses real username-password pairs leaked from breaches on other websites. If you used your WordPress password on a forum that got hacked in 2022, attackers already have it.
XML-RPC Amplification
Most WordPress installs expose a file called xmlrpc.php for legacy features. Attackers love its system.multicall method because it lets them test hundreds of passwords in a single HTTP request — so one POST to xmlrpc.php can do what would otherwise require hundreds of login attempts.
WordPress powers more than 42% of all websites on the internet, which is exactly why bots target it at this scale. Every install shares the same login URL structure, the same XML-RPC endpoint, and the same default username field — a predictable attack surface.
The 7-Step WordPress Login Defense Checklist (Ordered by Impact)
This is the order of operations for WordPress brute force protection. Do them top to bottom. If you only have 30 minutes today, finish steps 1 through 4 and come back for the rest tomorrow.
Step 1: Remove the Default “admin” Username
Half the battle is making attackers guess your username. If your admin account is still called admin, bots already know half of your credentials.
Create a new Administrator user in Users → Add New with a unique username. Log in as the new user, then delete the old admin account and reassign its content.
Step 2: Enforce Strong, Unique Passwords
Your admin password must be long, random, and used nowhere else. At least 16 characters, generated by a password manager.
Free password managers like Bitwarden work on any phone in Ghana, Nigeria, or Kenya and sync over mobile data. If you reuse a password anywhere, change it on your WordPress site first.
Step 3: Enable Two-Factor Authentication (2FA) — The Highest-Impact Step
If you do one thing on this list, make it WordPress two factor authentication. Even if an attacker guesses your username and password perfectly, they still cannot log in without the six-digit code on your phone.
Install a free plugin like WP 2FA or Two Factor Authentication, activate it, and scan the QR code with Google Authenticator. Set up recovery codes and store them somewhere safe in case you lose your phone.
2FA single-handedly neutralizes dictionary attacks, credential stuffing, and most XML-RPC abuse at once. It is the one defense attackers cannot brute-force past.

Step 4: Limit Login Attempts
By default, WordPress lets anyone try passwords forever. A bot can guess millions of combinations without ever being slowed down.
To limit login attempts WordPress-wide, install a plugin that locks out an IP after a few failed attempts. Limit Login Attempts Reloaded is the most common choice, with more than 2.5 million active installations, and it works out of the box. A sensible policy: 4 failed attempts, 20-minute lockout; 4 lockouts, 24-hour ban.
This turns a bot’s “try a million passwords in an hour” attack into “try sixteen passwords a day” — which is no attack at all.
One less thing to configure: LuminWeb WordPress Hosting includes the Imunify360 firewall and automatic backups by default, so brute force floods are blocked at the server level before they ever reach your login page.
Step 5: Protect or Disable XML-RPC
If you do not use the classic WordPress mobile app, Jetpack, or IFTTT-style integrations, you probably do not need XML-RPC at all. To disable XML-RPC WordPress-wide removes the biggest amplification vector in a single step.
Install a plugin like Disable XML-RPC and activate it. If you need some XML-RPC features but not login authentication, Stop XML-RPC Attack blocks the dangerous system.multicall method while leaving legitimate uses intact.
Not sure if you need it? Disable it and watch your site for a week. If nothing breaks, leave it off.
Step 6: Change or Hide the Login URL
Bots know WordPress lives at /wp-admin and /wp-login.php. When you change WordPress login URL paths, a huge percentage of automated attacks never find you.
WPS Hide Login lets you change the login URL to something like /staff-entrance or /my-office. Pick a slug no one would guess, and bookmark it.
This is not a replacement for 2FA or login limits, but for drive-by bot traffic it is surprisingly effective.
Step 7: Add reCAPTCHA or Cloudflare Turnstile
A CAPTCHA on the login form stops bots that ignore lockout rules and keep hammering. Google reCAPTCHA v3 is free and invisible to real users. Cloudflare Turnstile is a lighter, privacy-friendly alternative.
Most login-hardening plugins include a CAPTCHA option in their settings — turn it on after you have finished steps 1 through 6.
Hosting-Level Defenses You Already Have
Here is the part almost no other WordPress login security guide mentions: your hosting provider is already blocking most attacks before they reach WordPress.
If you are on reputable shared or WordPress hosting in Ghana, Nigeria, or Kenya, your server likely runs Imunify360, CloudLinux, or a similar security suite. These tools watch brute force traffic in real time, ban attacking IPs across the whole server, and stop XML-RPC floods before PHP even loads.
Server-level blocking is faster than plugin-level blocking — the attack never touches your site. Shared hosting customers also benefit from patterns the firewall learns from other sites on the network: if an attacker hit another site on the same server an hour ago, your site already has that IP banned.
If your host does not offer this, consider it a dealbreaker. Good web hosting security is the invisible layer that keeps your site calm while you configure plugins.

Recommended Free Plugins: Quick Comparison
You do not need premium plugins to secure the login page. Here is the minimum effective stack for stopping WordPress brute force attacks.
| Plugin | Purpose | Why Choose It |
|---|---|---|
| WP 2FA | Two-factor authentication | Free, easy setup, works with Google Authenticator |
| Limit Login Attempts Reloaded | Attempt limiting | 2.5M+ installs, simple defaults that work |
| Wordfence Security (free) | Firewall + malware scan | All-in-one backup option |
| WPS Hide Login | Custom login URL | Lightweight, one setting |
| Disable XML-RPC | XML-RPC removal | One-click fix |
Avoid stacking too many security plugins — one 2FA plugin, one login limiter, one XML-RPC plugin, and you are done. Overlapping plugins slow the site and cause false positives.
For the full list of security tools every site needs, see our guide to essential WordPress plugins for business websites. And because plugin vulnerabilities are the second-biggest attack vector after the login page, audit your WordPress plugins for security vulnerabilities at least once a quarter.
When to Worry vs When Your Hosting Has It Covered
Some failed login notifications are normal background noise. Others are a sign you need to act today.
Act immediately if: – Successful logins appear from countries or IPs you do not recognize – Your site is suddenly slower and your hosting dashboard shows high CPU – New admin users appear that you did not create – You receive password-reset emails you did not request – Your hosting provider emails you about suspicious activity
You are probably fine if: – You see occasional failed login attempts from random IPs – Lockout emails from your limit-login plugin arrive and then stop – No successful logins appear from unknown locations
Brute force attack volume against WordPress sites has been increasing as AI-driven botnets and credential-stuffing from leaked databases scale up. Expect the noise to keep growing.
Frequently Asked Questions
How do I stop brute force attacks on my WordPress site? Enable two-factor authentication, limit login attempts to 4 tries per IP, remove the admin default username, disable XML-RPC if you do not need it, and change the login URL. In that order.
What is the single best thing I can do to secure WordPress login? Turn on two-factor authentication. Even if an attacker knows your password, they cannot log in without your phone.
How many failed login attempts should I allow before lockout? Four attempts, then a 20-minute lockout. After four lockouts from the same IP, extend to a 24-hour ban. This stops bots without locking you out when you mistype your own password.
Should I disable XML-RPC on WordPress? If you do not use the WordPress mobile app, Jetpack, or third-party publishing tools, yes — disable it. It is the biggest login amplification vector on a default WordPress install.
Do I still need a login security plugin if my hosting has a firewall? Yes. Hosting-level firewalls like Imunify360 block most automated attacks, but plugin-level 2FA and login limits protect you against targeted attacks and credential stuffing. Use both — they cover different layers.
How do I change the default WordPress login URL? Install WPS Hide Login, pick a custom slug, and save. Bookmark the new URL — the old /wp-admin path will stop working.
Related Articles
- WordPress Plugin Security Audit: Step-by-Step 2026 Guide
- WordPress Site Hacked? What to Do First (Recovery Guide)
- Best WordPress Security Plugins Compared (Free vs Premium 2026)
- WordPress Backup Strategy: How Often, Where, and How to Test
Start With 2FA Today — Then Layer the Rest
Strong WordPress login security is a stack of small, boring defenses that make your site uninteresting to bots. Two-factor authentication, limited login attempts, no default admin username, and a protected XML-RPC will stop the vast majority of what hits your login page.
The rest — custom URLs, CAPTCHAs, hosting firewalls — make you nearly invisible to the scanners. Walk through our WordPress security checklist once the login is locked down, and you will have a site that is harder to attack than most.
Want a second set of eyes on your setup? Contact our support team — we configure login security for LuminWeb WordPress Hosting customers every week, and we are happy to walk you through it on your own site too.
